
F3F TIMER PROJECT by Jon Edison
Created October 2018. Updated Sept 2022
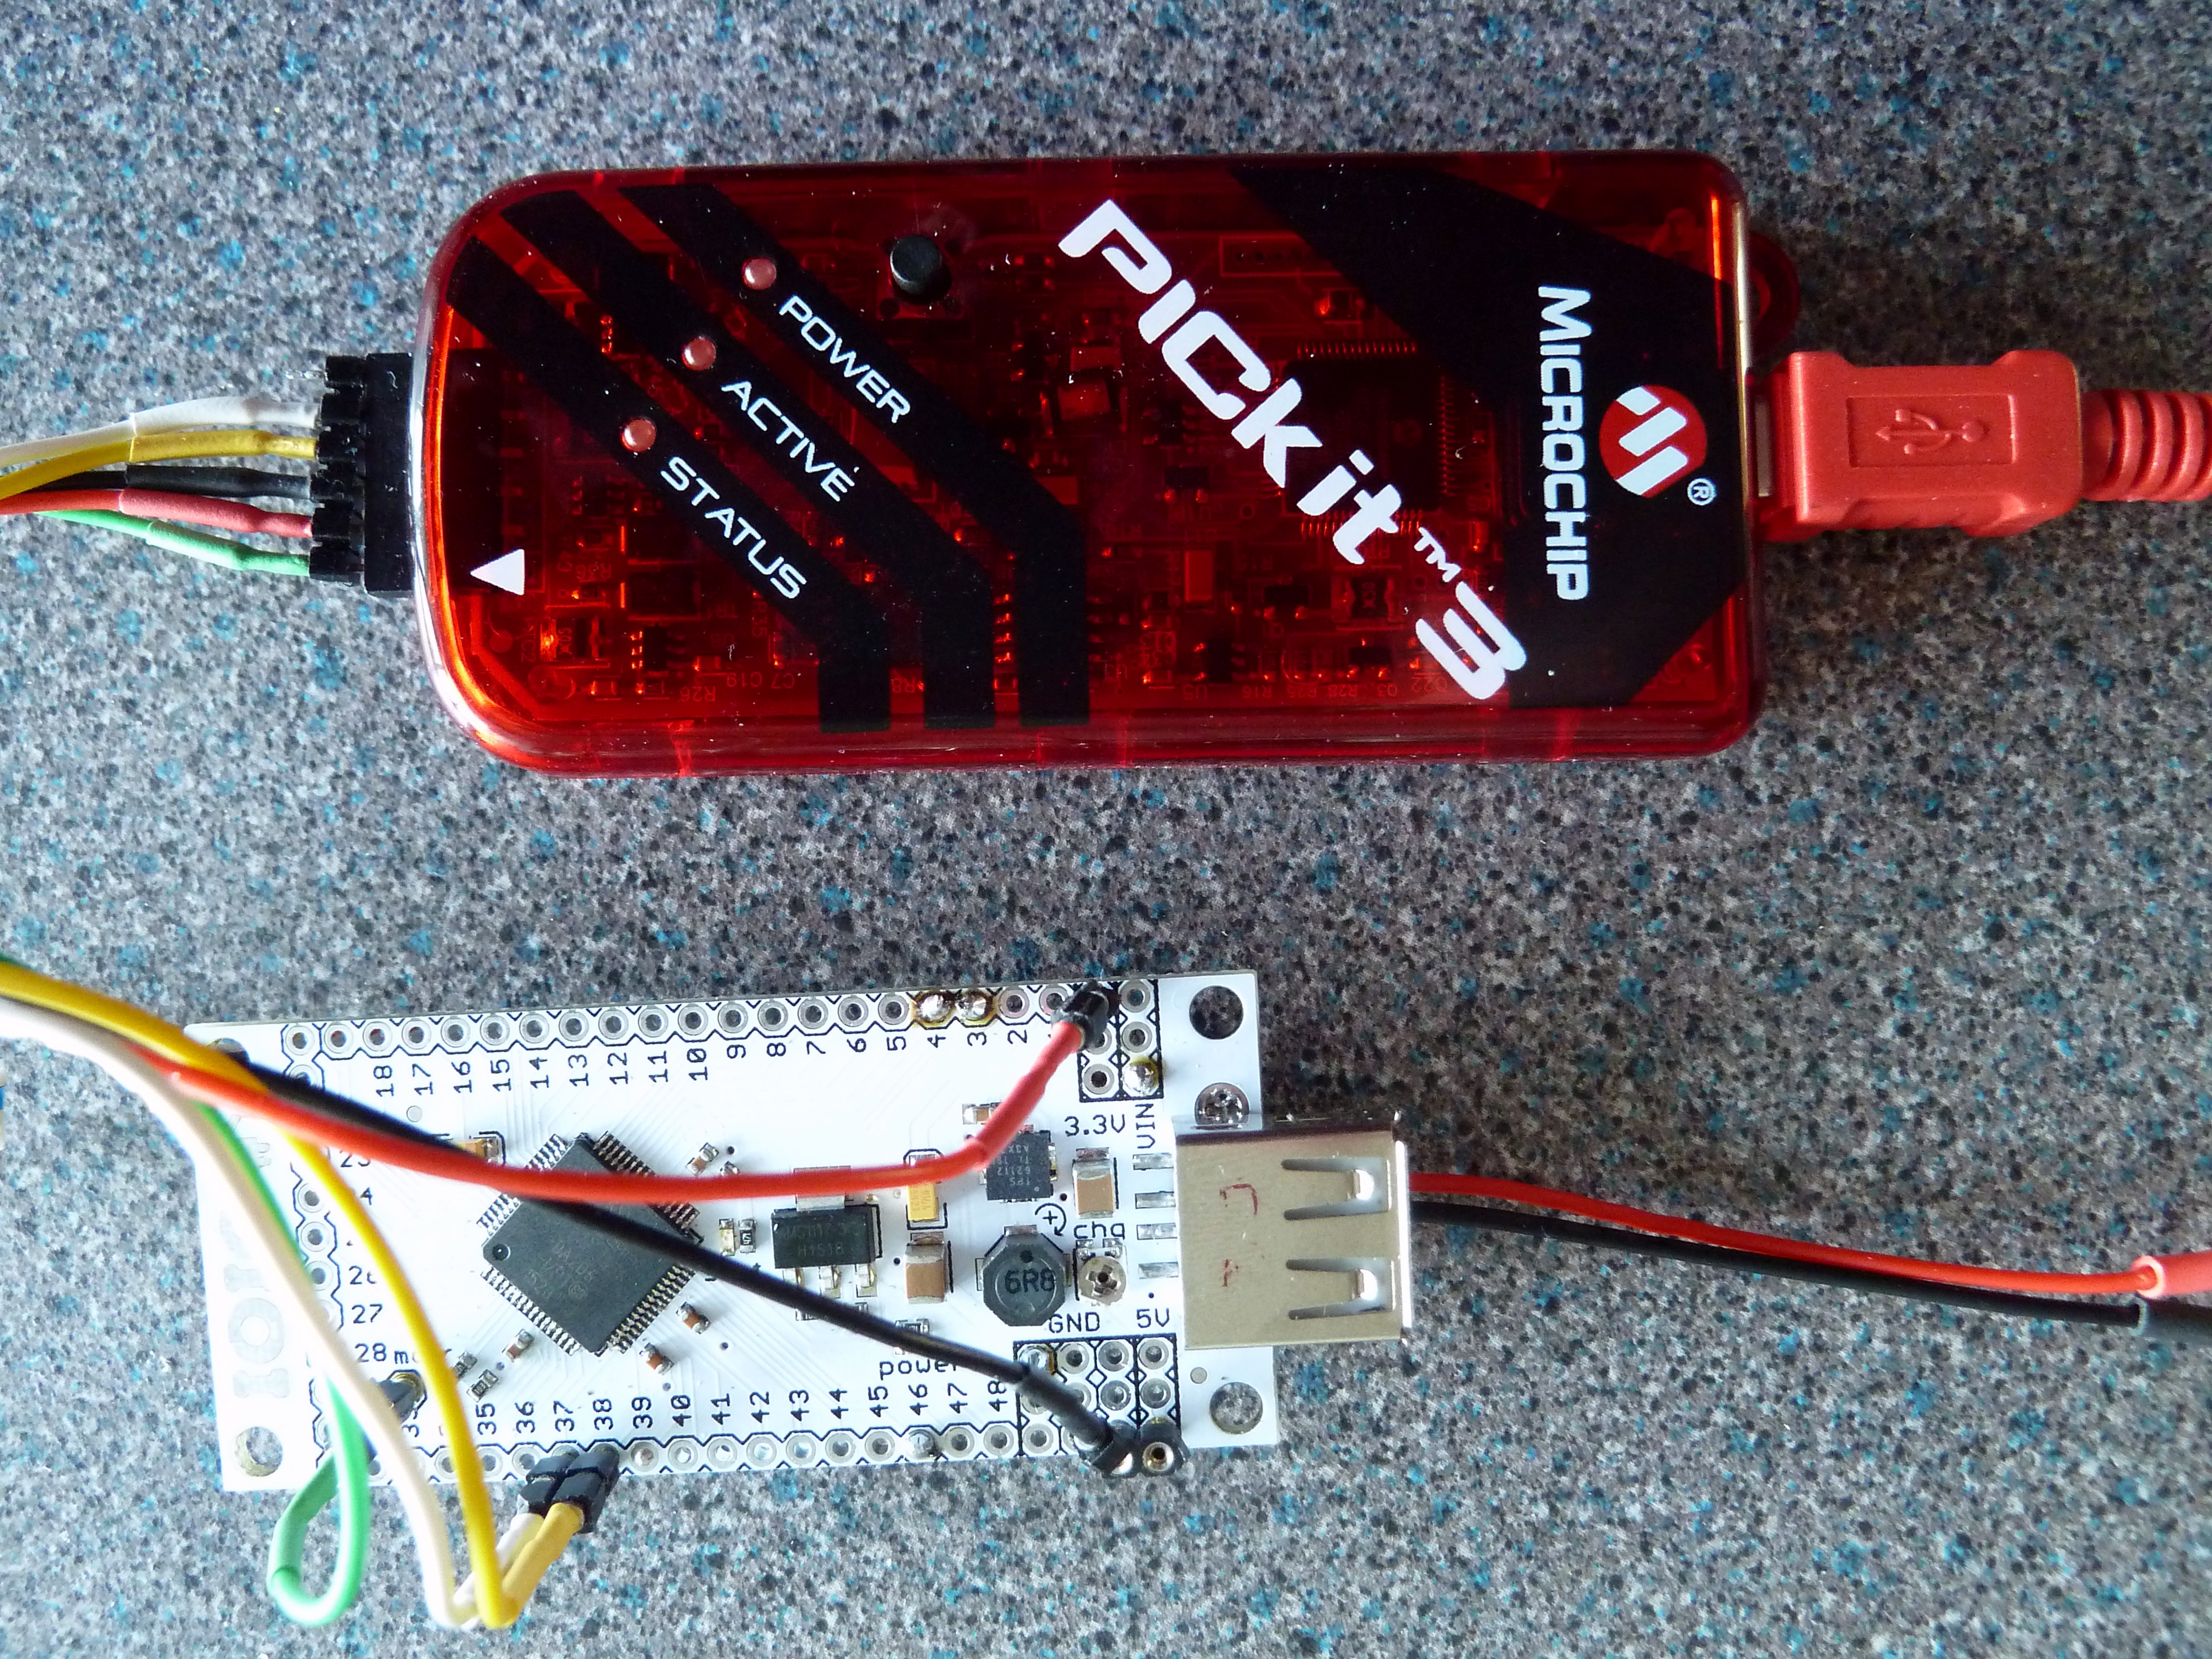
Programming an IOIO v2 using the PICkit3 Programmer
<Back
The USB v2 board requires programming. The following procedure is straight forward using the PICkit3 programmer. This procedure can also be used on the IOIO v1 board if you suspect that a none working unit maybe as a result of corrupt software, or you wish to upgrade to the latest software version.
Connecting the IOIO Board to the PICkit3
IOIO |
PICkit3 |
|
|---|---|---|
MCLR |
Pin 1 |
Green |
3.3v |
Pin 2 |
Red |
GND |
Pin 3 |
Black |
Pin 38 |
Pin 4 |
Yellow |
Pin 37 |
Pin 5 |
White |
nc |
Pin 6 |
nc |
Cable colours are arbitrary but act as an aid to checking correct connections.
Download and extract the HEX file from here.
Scroll down to 'IOIO Boatloader ( for IOIO V1 )'.
Download the
appropriate HEX bundle, "Boot-IOIO0311-App-IOIO0500zip", and unzip the file.
Several HEX files will be extracted.
Depending on the processor on your IOIO board, use one of the following :-
For PIC24FJ128DA206 use SPRK0015.hex
For PIC24FJ256DA206 use SPRK0016.hex
Setup the MPLAB IDE software
This process was done using v8.92 MPLAB software.
Select the Project Wizard in the MPLAB screen
Select the appropriate PIC for the IOIO board to be programmed
Select Microchip ASM30 Toolsuite
Select default file location for the toolsuite
Select a New Project File location
Exit the Project Wizard
Under the 'Configure' tab, check :-
the 'select device' options shows the correct PIC
the 'Configuration Bits' option, shows the 'Configuration bits set in Code' is selected
Connecting the IOIO to the PICkit3
Plug in the PICkit3 into the USB port on your PC. Make sure the PC acknowledges that a USB device has been plugged in. See below for error message if no acknowledgement.
On 'Programmer' Tab, select PICkit3.
MPLAB will report in the OUTPUT windows, 'PICkit3 Connected'
An initial problem, 'PK3Err0038: Failed to initialize PICkit 3', was probably caused by the PC not responding to the PICkit being attached.
If the IOIO was not connected at this point, MPLAB will report 'a target device was not connected '
Plug in the IOIO board to the PICkit. The message 'Target Connected' should be displayed.
NB the IOIO must be powered by its own supply. Use the 5-15v Input 'Vin'
If the message "Target Device ID (00000000) does not match expected DeviceID (0000xxxx)" is received, then this has a number of causes, but basically the PIC device on the target board has not responded, even though the "Target Connected" message has been received.
Check all connections between the PICkit3 and the target board are correct.
If this happens when programming a USB v2 device, then poor soldering of IC1 has been found to be one of the causes.
Programming the IOIO board
Connect the IOIO board as detailed above
If you have previously setup a Project, then select 'Project' from the MPLAB Tool bar
Select 'Open' from the drop down options.
Navigate to the file location where you saved the project.
The Project will show as 'xxxxxx.mcp' where xxxxxx is the name you previously gave under setup above
Highlight the file and select 'Open'
The Project will open and the HEX file you used will also be included
Else
Select 'File', 'Import', and chose the HEX file required for use this time
MPLAB will display the file path in the 'BUILD' tab after importing
Re-Select the 'PICkit3' Tab, and select 'Program' from the 'Menu' or 'Tool Bar Icons'
Programming will start immediately, shown by the progress indicator on the bottom left of the screen.
This will take 5-10secs. Verifying the program will take a little longer.
The IOIO board has now been loaded with v3,11 Bootloader, and v5,00 Application.
All done. Disconnect the IOIO board and plug into and Android device to test.
If all is well the Android should report a USB device has been connected.
Disclaimer
I have no connection with any of the companies listed above, any links given for information only, and for use at your own risk. All information is provided in good faith and without liability.
Return to Top
Return to Previous Page
Jon Edison
Oct 2018
Updated Sept 2022